 EN

Curved Stone Wall Cladding: Design and Fabrication Considerations
Curved stone cladding can give a lobby, hospitality wall, retail frontage, or high-end residence a sense of continuity that flat panels cannot. The visible curve, however, is the end result of several prior decisions. Before selecting a finish, the project team needs to align the design radius, stone character, panel size, support approach, and installation sequence. From an architectural material planner’s perspective, curved stone cladding is a coordination decision between visual intent, use zone, and maintenance expectations—not simply a request to bend stone.
For commercial stone wall cladding, the most useful early question is not “Which stone looks best?” It is “Which geometry, joint rhythm, and fixing method can be fabricated, transported, and installed within the project tolerances?” This article helps architects, contractors, and procurement teams compare the key choices before requesting samples or quotations.
Start With the Geometry, Not the Surface
A curved elevation should be described as buildable information: plan radius, convex or concave direction, wall height, opening locations, returns, and the intended joint pattern. A curve can be resolved through faceted panels, narrower pieces, shaped stone units, or a different cladding system altogether. These approaches do not have the same fabrication effort, visual outcome, or installation requirements.
Discuss curved stone cladding by checking the substrate and the target radius first, then decide whether the selected stone thickness, panel width, and edge treatment need adjustment. For a generous radius, rationalized panels may create a clean rhythm. For a tight radius or sculpted profile, the supplier may need more detailed templates, additional machining, or smaller modules. The drawing should show where joints land, because an even joint layout often matters as much as the curve itself.
Choose a Stone and Finish for the Actual Application
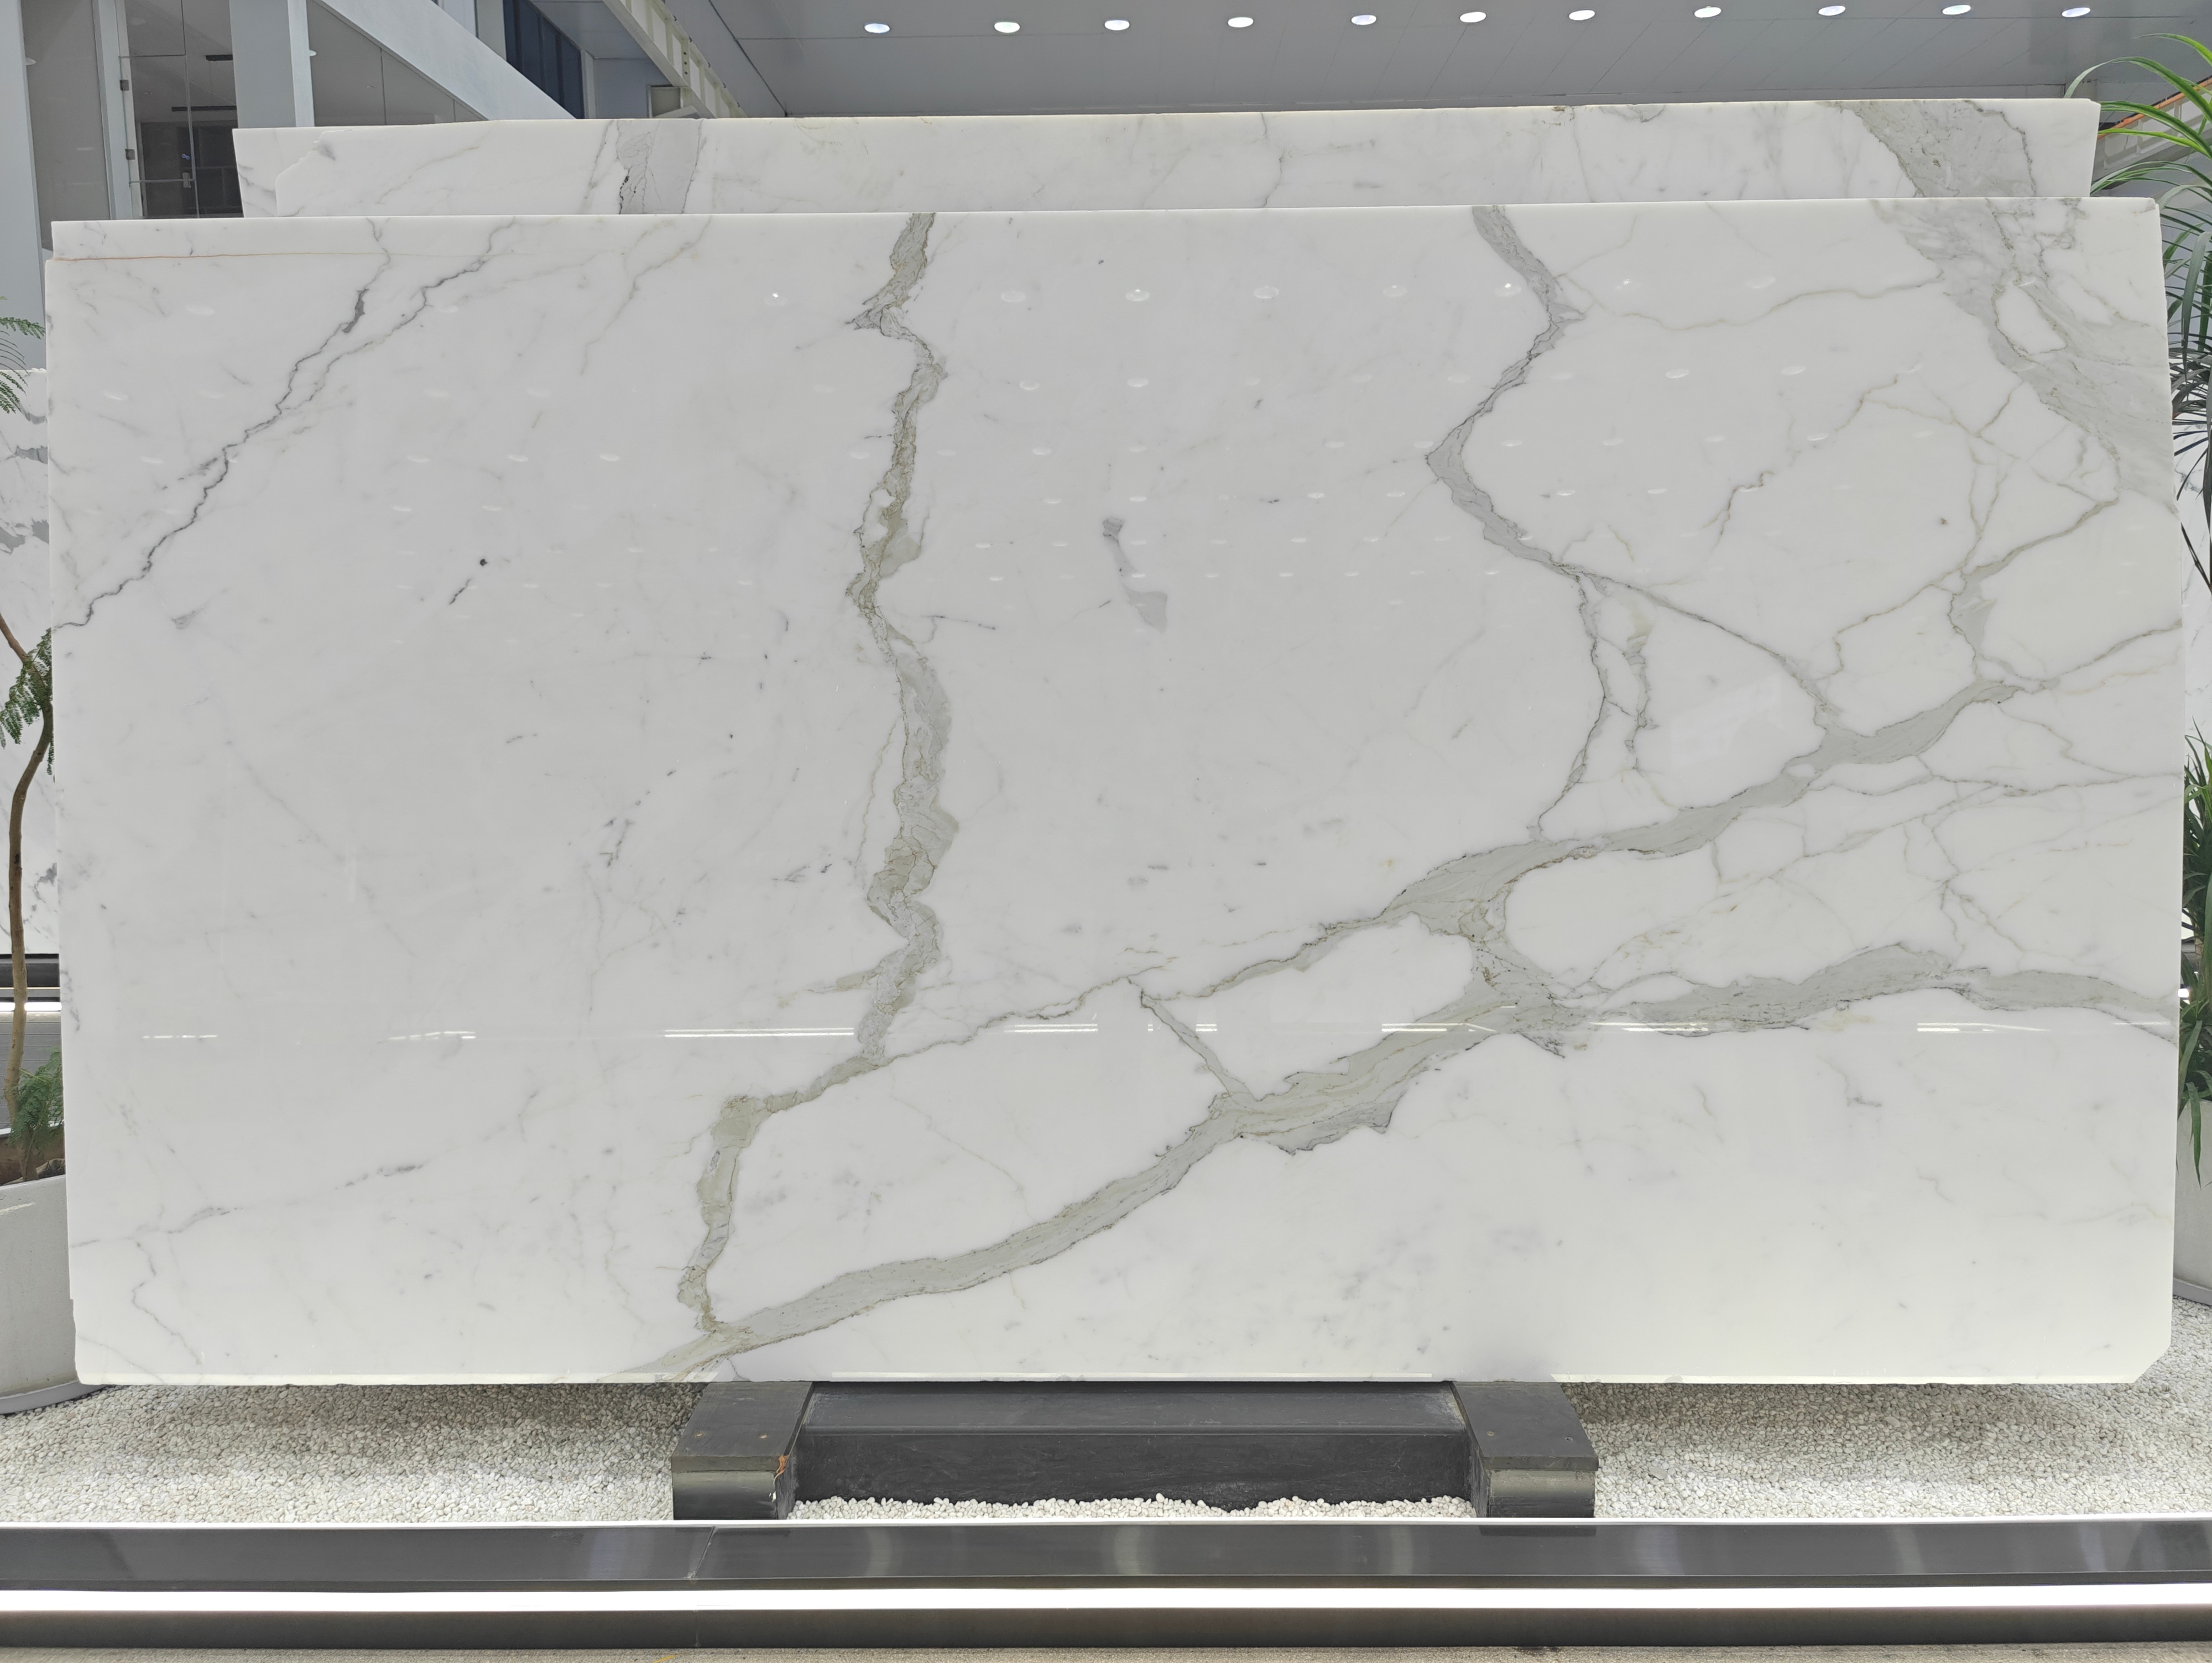
Natural stone varies in veining, mineral composition, and response to fabrication. The right choice depends on the intended use zone, exposure, cleaning routines, and surface expectation. A polished finish can suit a carefully controlled interior; more precisely, it should be reviewed against the location’s handling, cleaning plan, and the level of visual consistency expected across the curve.
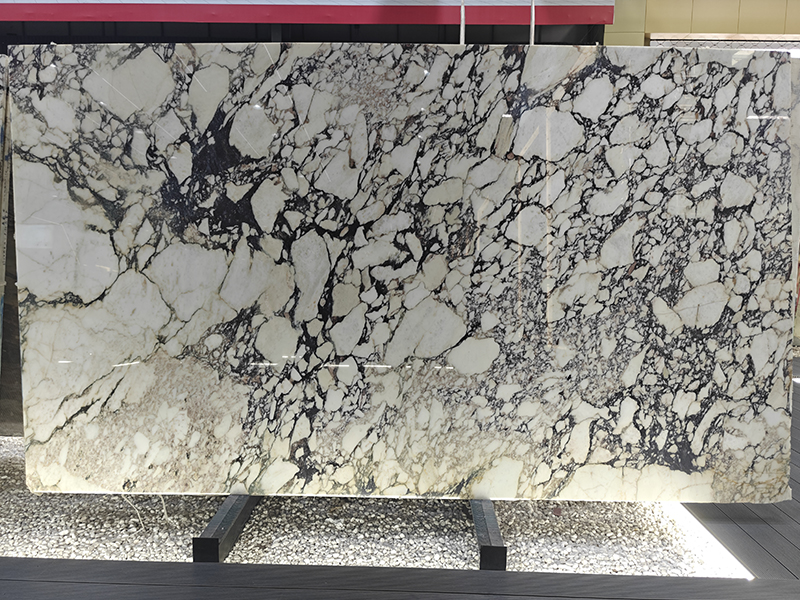
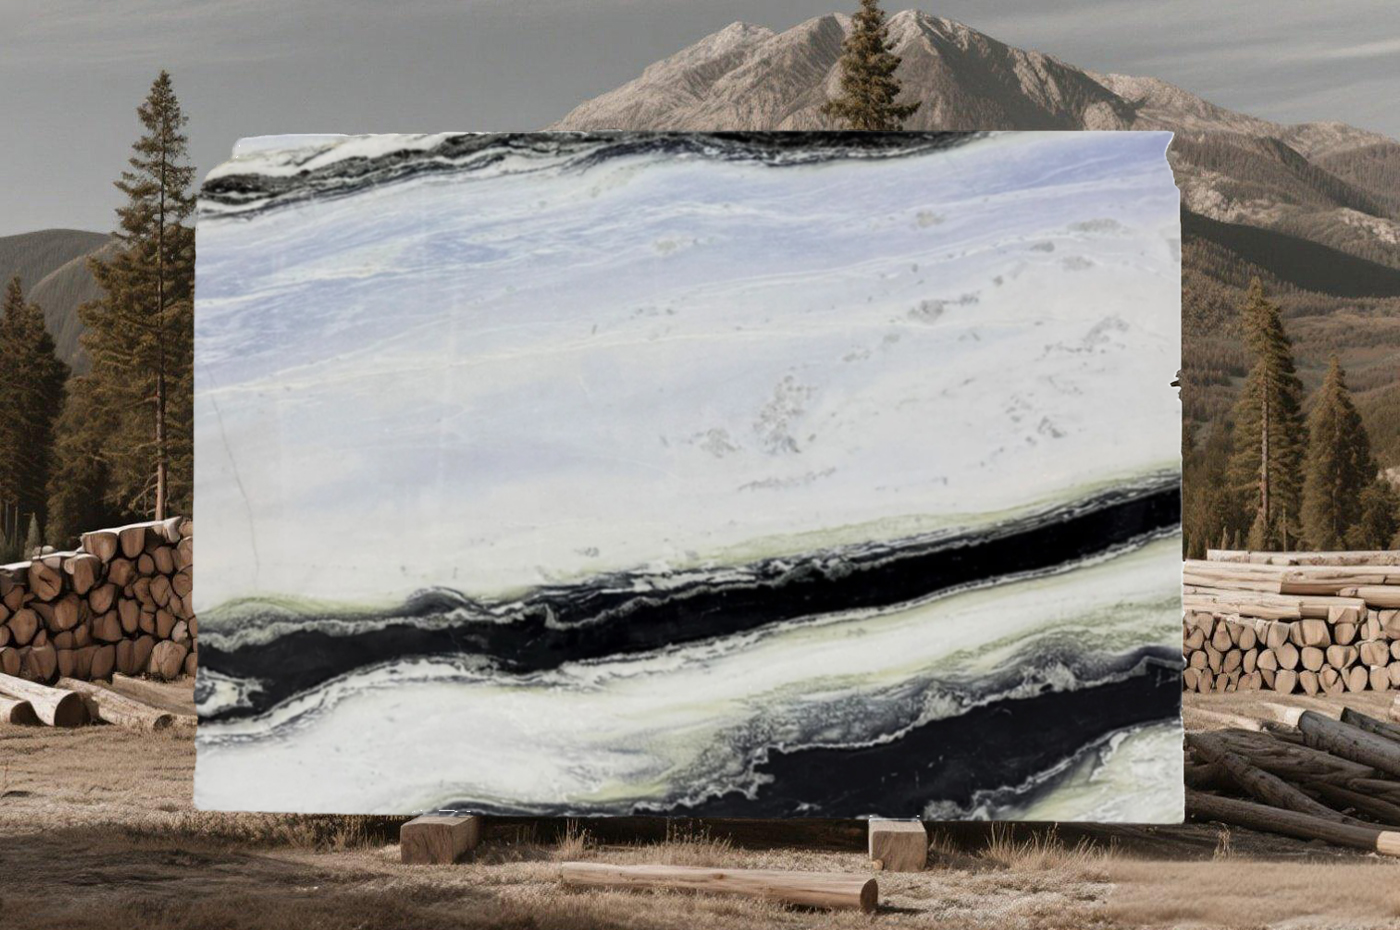
Representative samples are especially important for curved stone cladding. A small hand sample can confirm general color and texture, but it cannot fully show how directional veining, fluting, book-matching, or edge returns will read across multiple panels. Review a sample board or drawing that indicates panel orientation and joint locations. This turns a purely aesthetic discussion into a practical batch and layout expectation.
Where a ribbed or fluted visual language is part of the concept, confirm whether the profile continues through the curve, changes at panel joints, or is interrupted at returns. For example, the product page for White Rhino Marble Fluted Wall Panels can be a useful starting point for discussing surface direction and sample review; it does not by itself determine the project’s curved geometry, structural fixing, or final fabrication scope.

Panelization Is the Key Fabrication Decision
Panelization converts the design curve into pieces that can be cut, finished, checked, packed, and installed. The fabrication team needs coordinated drawings that identify the panel numbering logic, finished dimensions, thickness, edge details, cut-outs, and acceptable tolerances. If the design uses a continuous visual grain, these details should also indicate the direction of the stone movement.
| Decision | What to Confirm | Why It Matters |
|---|---|---|
| Panel width | Maximum module width and whether faceting is acceptable | Controls how closely the installed surface follows the design radius |
| Joint pattern | Joint width, alignment, and termination points | Prevents an irregular rhythm around columns, openings, and returns |
| Stone orientation | Vein direction, fluting direction, and panel sequence | Helps align visual intent with batch variation |
| Backside details | Kerfs, anchor locations, reinforcement, and clearances | Must coordinate with the selected installation system |
A useful comparison keeps material price separate from the full curved-cladding scope. Quotation reviews should distinguish stone selection, shop drawings, special cutting, dry layout or pre-assembly where applicable, packing, and site coordination. This avoids comparing a simple flat panel rate with a more complete curved stone cladding package.
Coordinate Support, Fixing, and the Substrate Early
Curved stone cladding should not be finalized independently of its support system. Natural-stone anchorage can use standard or project-specific components, so the project team should coordinate the stone geometry with the substrate, panel weight, cavity or adhesive strategy, drainage needs where relevant, and engineer-approved fixing details. For European projects, EN 1469:2015 addresses requirements for natural-stone slabs intended for internal and external wall and ceiling cladding; applicable local codes, engineering requirements, and project specifications still need to be confirmed for the actual installation.
Do not assume that a method suitable for a lightweight flexible panel also applies to fabricated natural stone. Curved stone cladding may require a different approach to tolerances, dead load, joint control, and handling. Before confirming the order, verify fixing locations, edge distances, access for installation, and the responsibility for the final support design with the supplier and project team.
Use Samples, Templates, and Mock-Ups to Reduce Rework
The most reliable pre-order package includes more than a color sample. Depending on the project, request a dimensioned drawing set, a radius template or digital geometry reference, stone sample approval, finish confirmation, and a panel schedule. For visually sensitive areas, a small mock-up can help the team evaluate the apparent curve, joints, lighting response, and transition at corners before full production.
A mock-up is most useful when it is evaluated against the same assumptions that will govern production. If the approved sample uses a different panel width, lighting condition, or joint width than the site installation, it may not resolve the central curved stone cladding questions. The aim is to establish a shared reference for the accepted visual effect and fabrication limits.
An RFQ Checklist for Curved Stone Cladding
- Provide plans, elevations, sections, and the required radius for each curved zone.
- State whether the curve is convex, concave, compound, or interrupted by openings and returns.
- Identify the stone type, target finish, thickness range, and any fluted or textured profile.
- Show the preferred panel dimensions, joint layout, edge treatments, and visible face direction.
- Clarify the intended installation method and who is responsible for structural and fixing design.
- Specify sample, mock-up, shop-drawing, packaging, labeling, delivery, and site-handling requirements.
Treating design, fabrication, and installation as one coordinated scope helps keep curved stone cladding decisions aligned. Start with the geometry and performance conditions, then use samples and shop drawings to test the visual intent. A well-prepared RFQ gives the supplier the information needed to discuss feasible panelization, finish options, and delivery planning without relying on assumptions.